
 Français
 Deutsche
 Español
In this guide, we will see how to install the Dynmap plugin on your Minecraft server hosting.
Dynmap is a plugin that allows you to create a virtual map of your server that can be viewed directly in a browser or embedded on your website.
Installation
Step 1 : Download
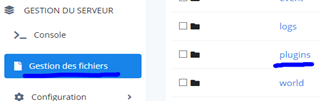
First of all, you will have to download the plugin on this link. Once done, open your file manager or FTP client and drag it into the Minecraft server plugins folder. Then restart your server.
Step 2 : Add a port
It is necessary to add a dedicated port. To do this, please contact Hosterfy support or join the Discord and type the command /port in the #commands channel.

Then copy the obtained port in Port Management from the tab of your management panel.

Step 3 : Configuration
Open the file on your FTP plugins > dynmap > configuration.txt with a text editor.
At line 330, type the port you copied just before.

At line 16, choose the resolution you prefer (I recommend vlowres to minimize the use of ssd and server resources).

At line 358, you can choose the number of threads to use during a /dynmap fullrender (next step) which will allow to have a faster or slower map rendering.

At line 212, you can choose the number of tiles that will be rendered at the same time. You can reduce this value in case of performance problems.

Save the file to your FTP and restart your server.
Step 4: In-game loading
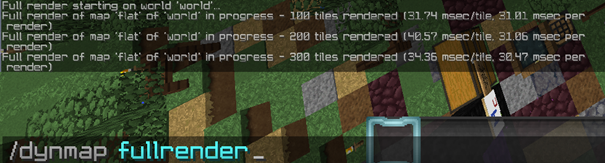
You can now connect to the game and issue the command /dynmap reload.

Then do a /dynmap fullrender to start showing all the chunks that have already been generated.
Step 5 : Access from the browser
You can now view the map on your browser by indicating in the url bar the ip and port of your server. For example game10-fr.hosterfy.com:45654.
Don't hesitate to ask on our discord if you have any problem !