Before manually installing a modpack, you can check if it is available via an automatic installation in the list of modpacks offered on the management panel.
To install a modpack via the quick installer, you can refer to this guide.
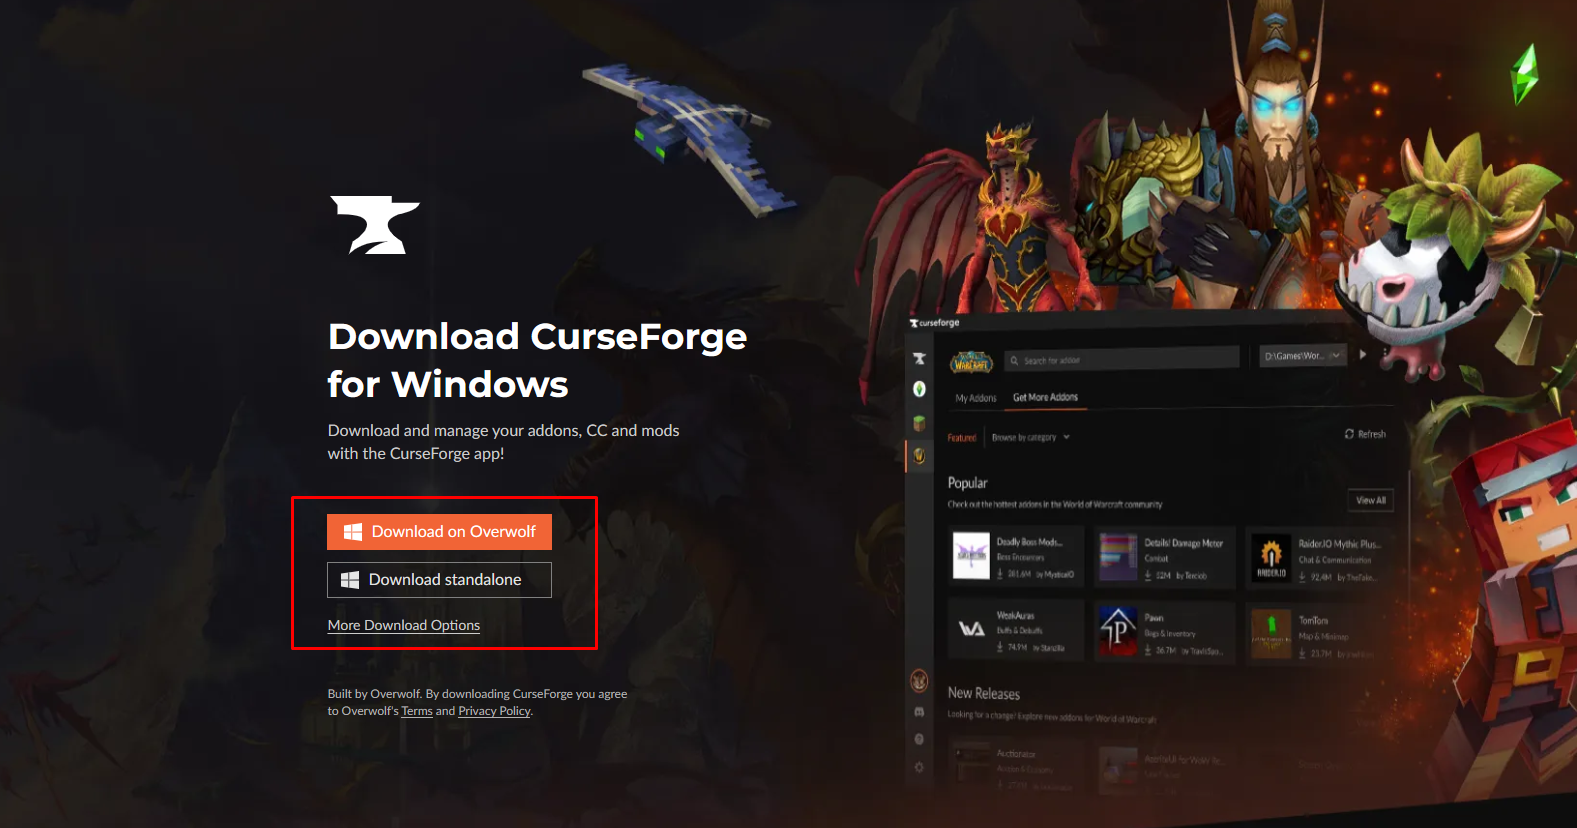
I. CurseForge Installation
First, to easily install a modpack, it is preferable to install the launcher provided by CurseForge available at the following address: Download CurseForge App - Mods and Addons Manager
II. Searching for the desired modpack
You can easily search for and download a modpack using the Curseforge application you installed earlier.
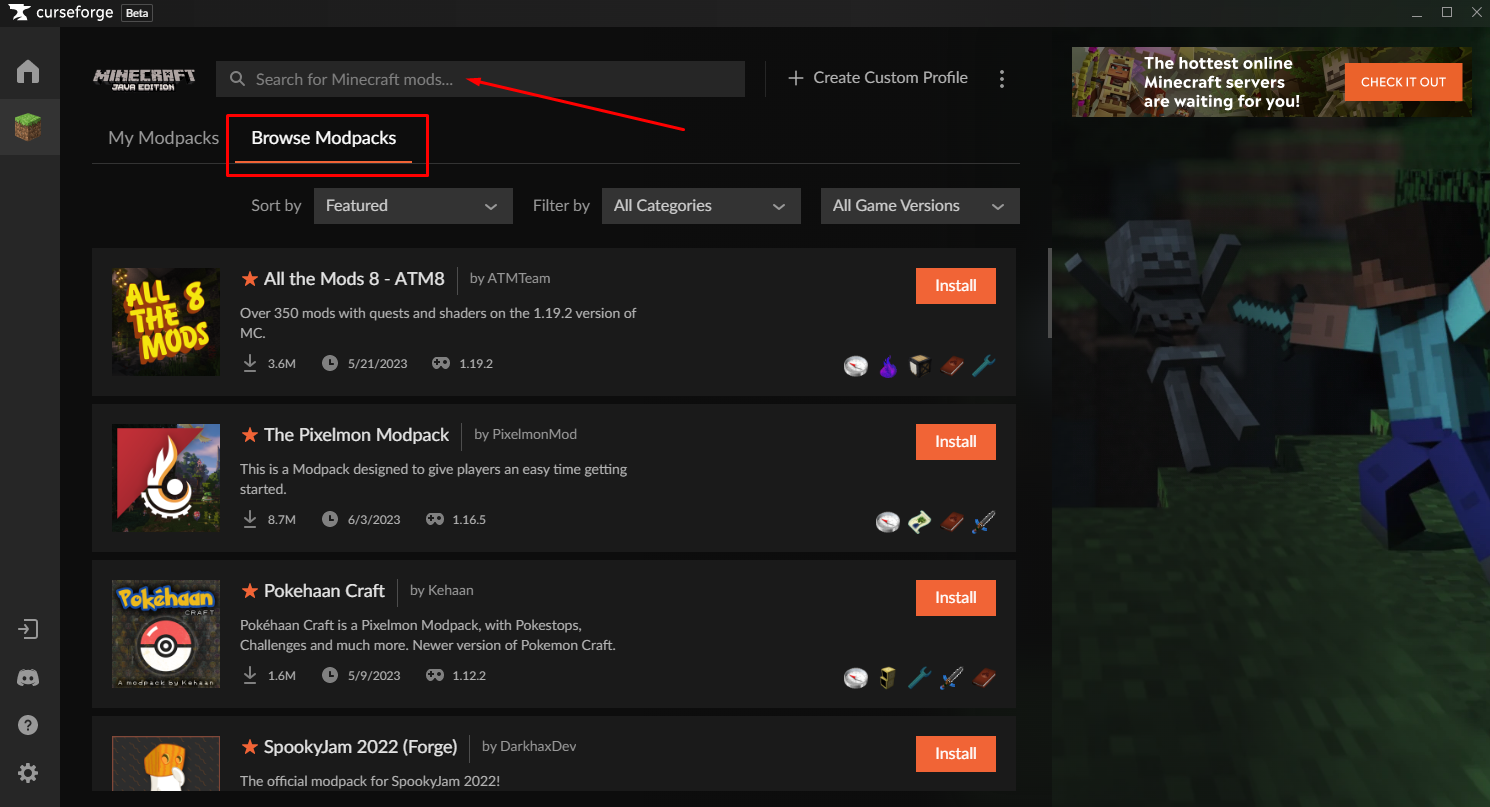
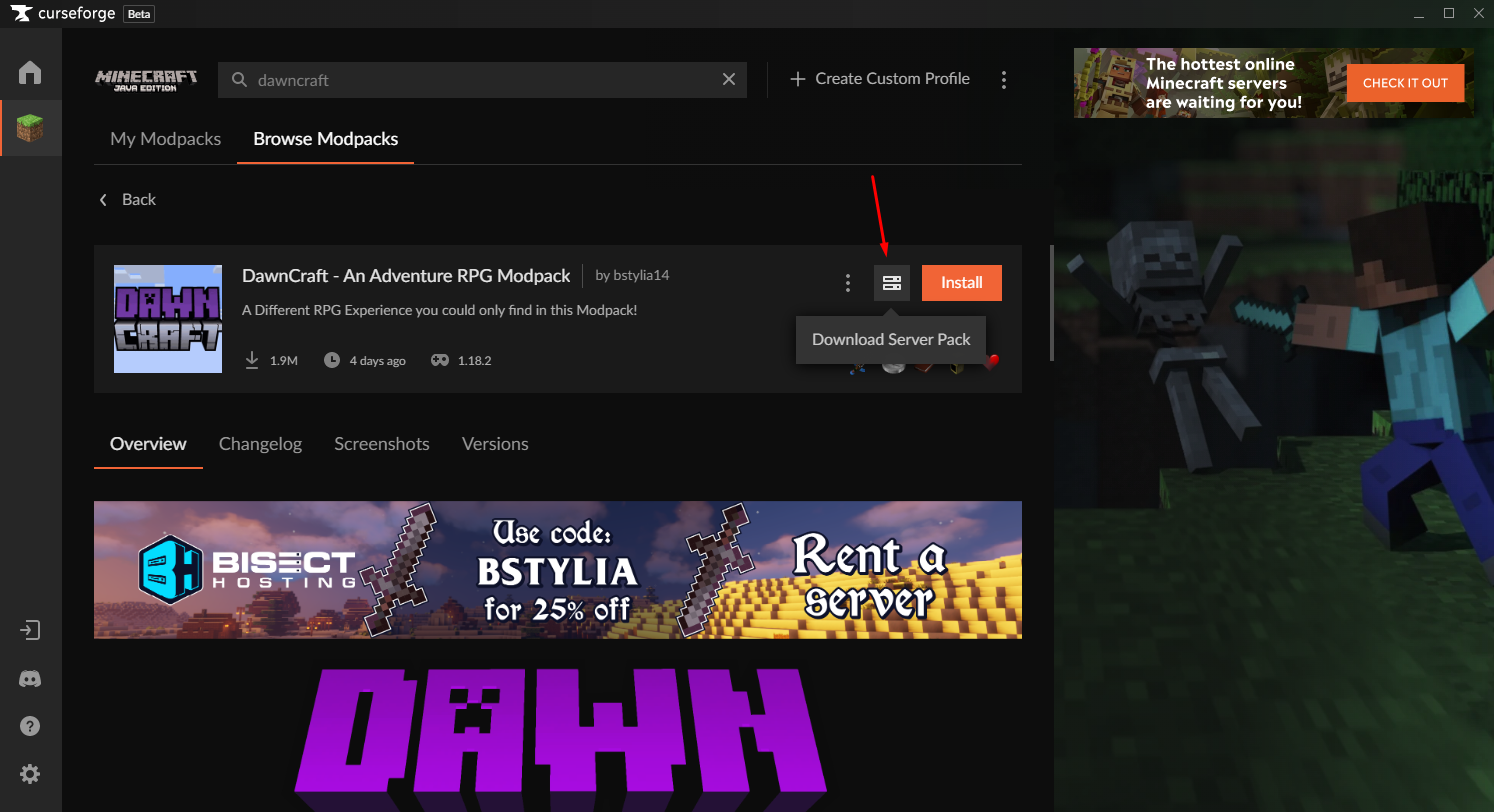
For this example, we will install the DawnCraft modpack.
Once you have found your modpack, click on it in the list of results. Then, simply click on the icon that indicates the Server Pack version. After clicking, the server pack download will begin (in .zip format).
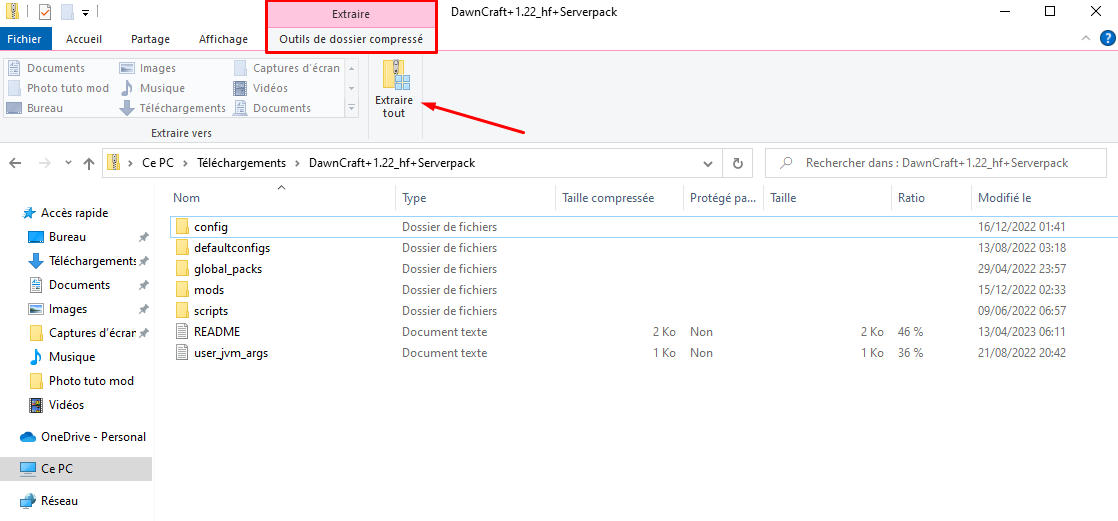
Once the .zip file is downloaded, you need to extract the files to the location of your choice.
III. Installation on the Hosterfy server
To install your modpack on your Hosterfy Minecraft server, you need to open an SFTP connection.
If you don't have a Minecraft server yet, you can subscribe to a Minecraft hosting offer on our website; it will be installed and ready to use in less than 5 minutes.
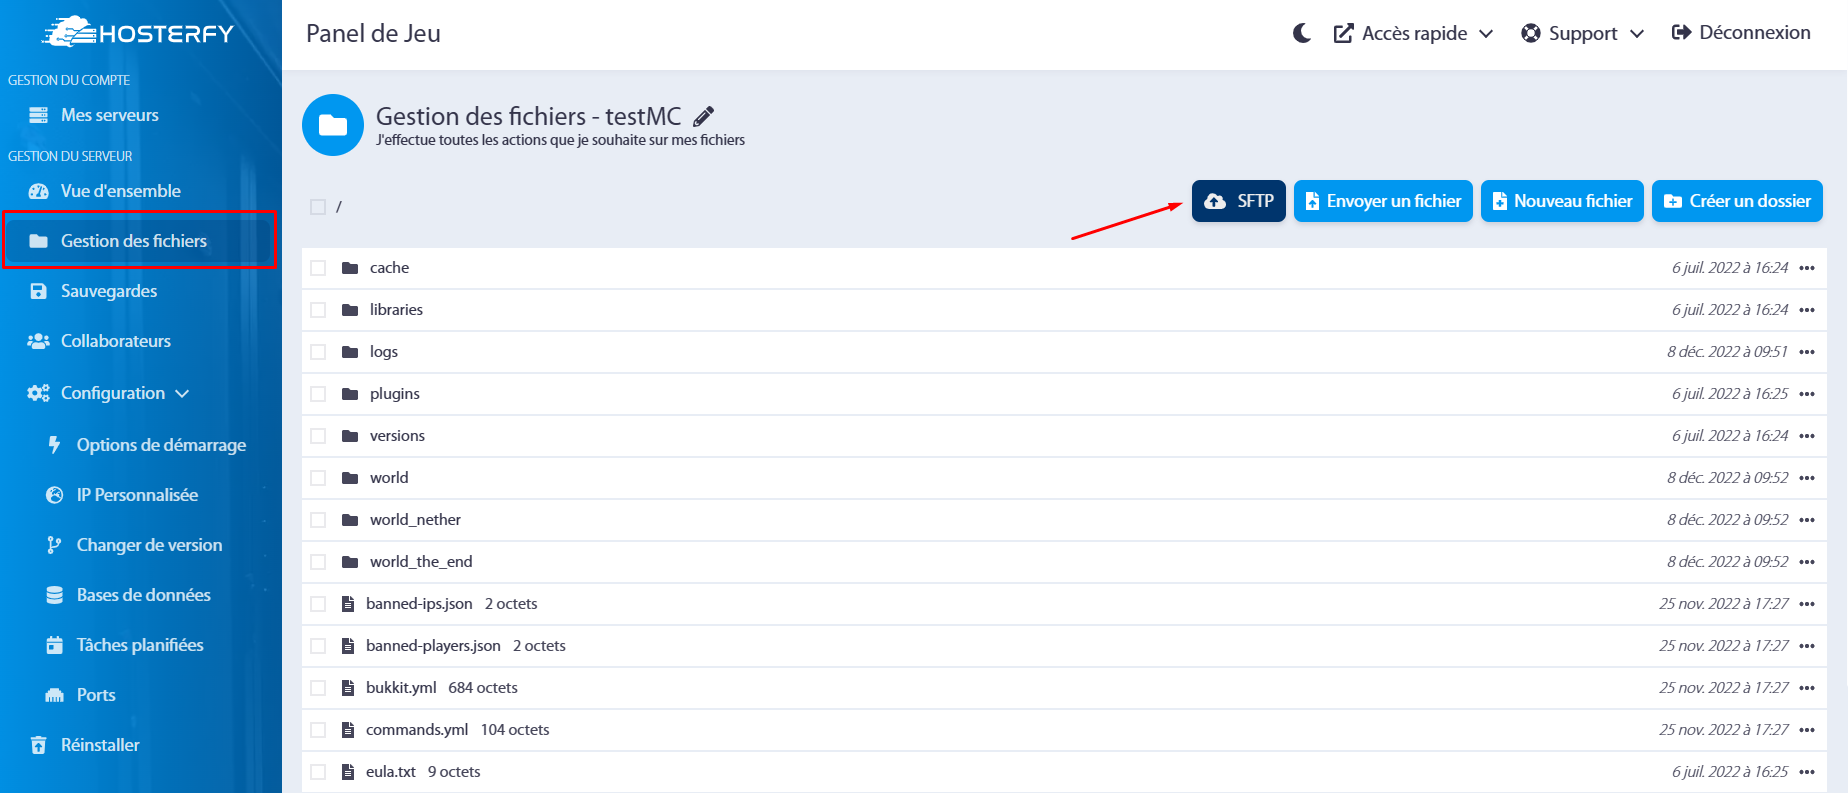
To do this, go to your management panel: https://game.hosterfy.com, category “File Management” then click on the “SFTP” button.
Optional: If you have never established an SFTP connection with your Minecraft server
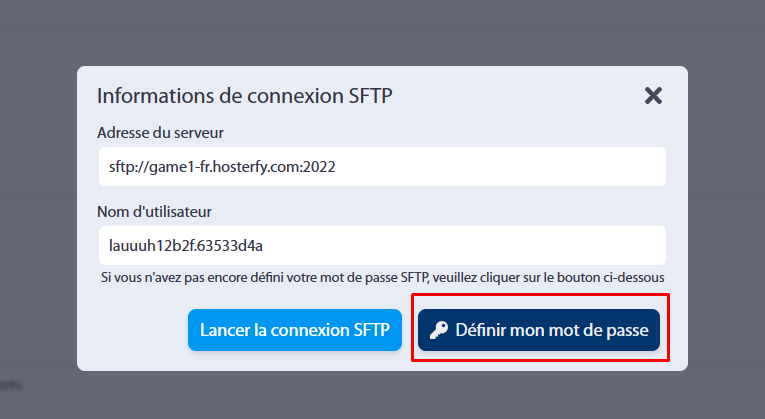
If you have never connected to your Minecraft server via SFTP, you will need to set a password (this password is different from the one used to log in to your client account).
To do this, simply click on the corresponding button:
Also, you will need to install an SFTP client on your computer. We recommend using WinSCP if you are on Windows. You can download it at this address: https://winscp.net/eng/download.php
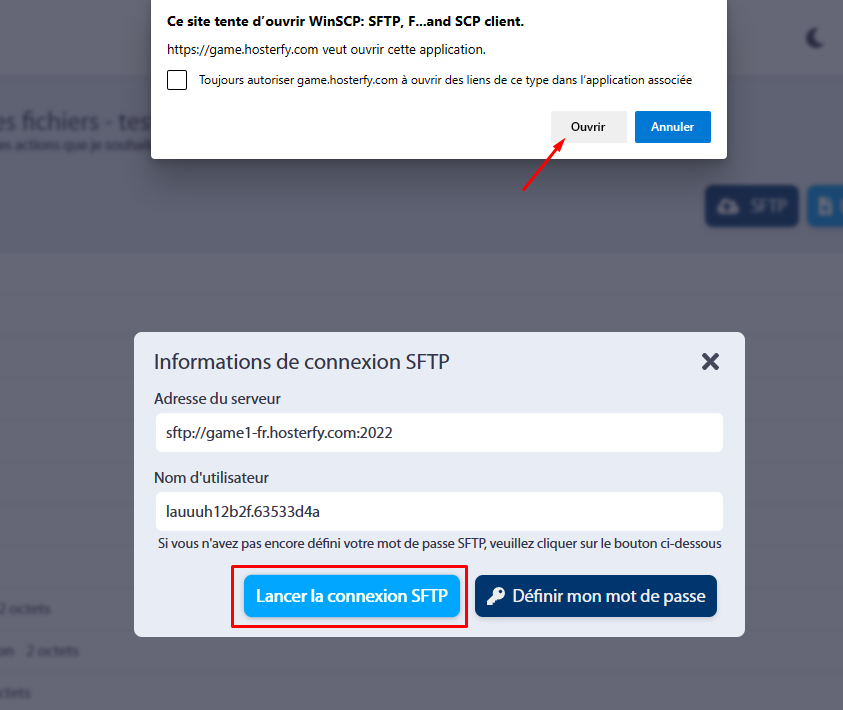
To connect to your server via SFTP, simply click on the “Launch SFTP connection” button:
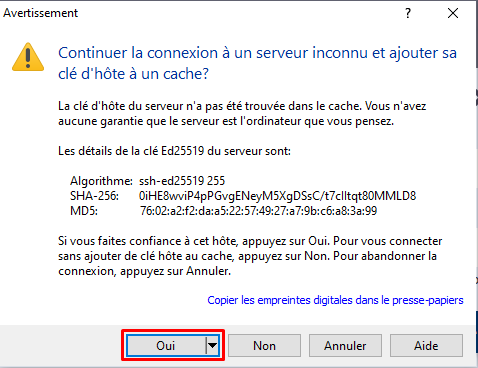
During your first connection, it is likely that you will receive a security alert. This is completely normal; you can continue by clicking “Yes”.
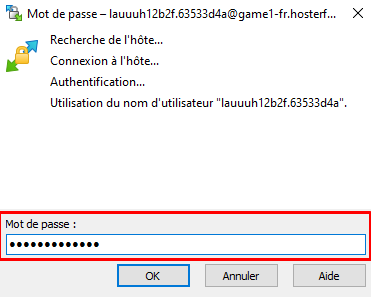
Your SFTP password (not to be confused with your client account password) will be requested:
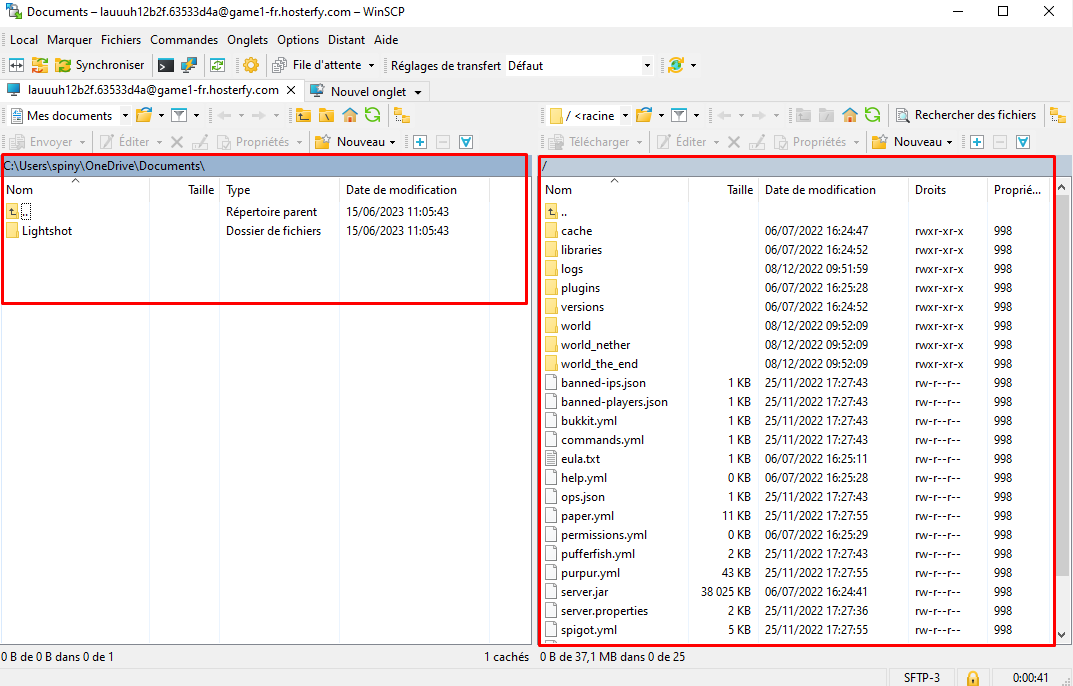
Once successfully connected, you should get the following window (on the left your computer's files, on the right your Minecraft server's files):
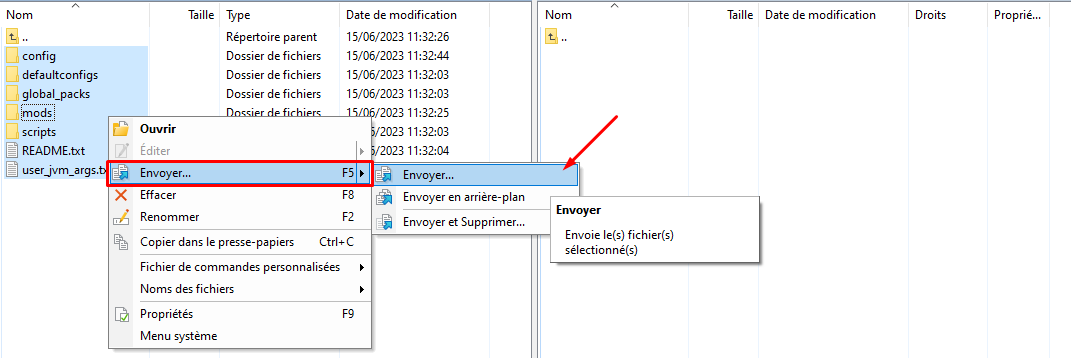
Now you need to transfer the files to your Minecraft server. To do this, go to the folder where you previously extracted your modpack on the left side of the software. Select all content, right-click, then send:
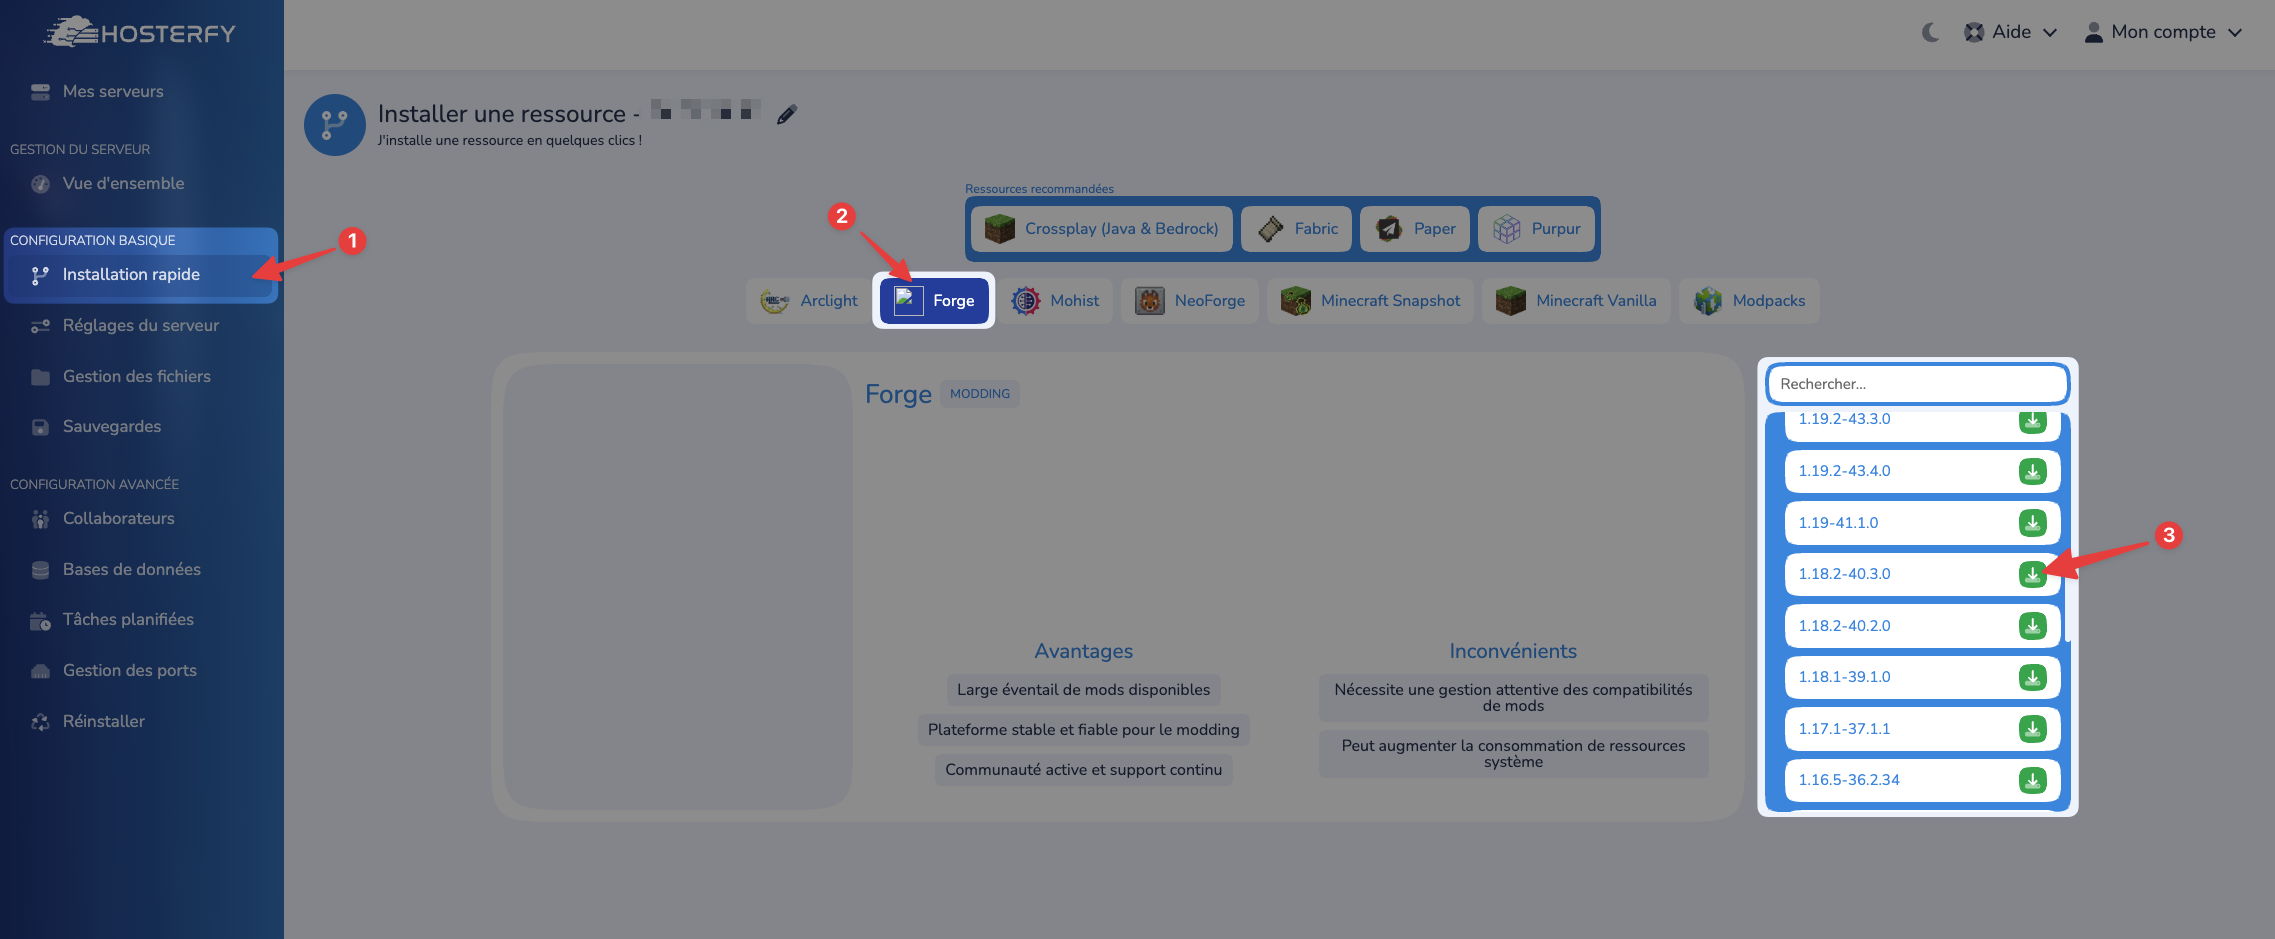
Once all files have been transferred, all that remains is to install the correct version of Minecraft on your server. To do this, simply go to your management panel, click on the "Configuration" tab, then select "Change Version". There you can choose the Minecraft version you wish to install.
To find out which version to install, refer to the modpack's page. This information is also often available in a README file within the modpack's files.
In our example, we will install Forge version 1.18.2:
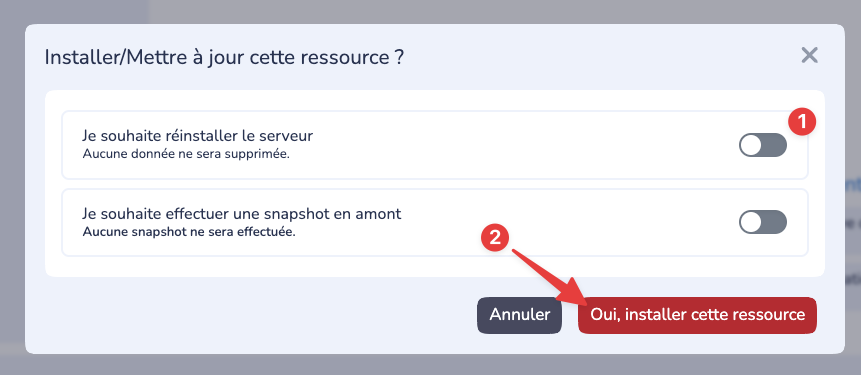
A window should appear to confirm the server installation; make sure not to check the “Reinstall server” box.
Great, you have successfully installed your modpack on the Hosterfy server! Now that you have completed the installation, all you have to do is start the server and play with your friends.
If you have any questions or problems during installation, feel free to consult our step-by-step guide above. We have included screenshots to help you navigate more easily.
We hope you have a great time playing on Hosterfy servers. Remember that all players must have the same version of Forge or the chosen modpacks to join your server and play with you.
Have fun everyone on Hosterfy servers!
IV. Common problems
If you encounter a problem while using this guide, please report it to us on Discord: https://discord.hosterfy.com


Post a comment
Comments